I was halfway through a midnight snack when the kitchen turned into a battleground. A rogue slice of sourdough had slipped off the counter, landing face‑down on the tile, and the buttery garlic butter I had prepared was already sizzling on the stove. I stared at the chaos, realizing that this was the perfect moment to test a new idea I’d been toying with all week. The idea? Turn that soggy, burnt‑to‑crisp bread into a molten cheese dream that would make even the most hardened critics swoon. I dared myself to taste this and not go back for seconds, and the promise of victory was almost too sweet to ignore.
The aroma that flooded the kitchen was a heady blend of roasted garlic, butter, and a hint of earth from the sourdough crust. My eyes widened as the sizzling butter turned a golden amber, and the sound of it popping against the pan sounded like applause. The texture of the bread, once limp, was now crisp on the outside and tender inside, like a well‑baked croissant that has been kissed by fire. I could already taste the sharp cheddar melting into a creamy, tangy pool that would coat my tongue like velvet. The anticipation was palpable, and I felt the heat of the pan echo my own excitement.
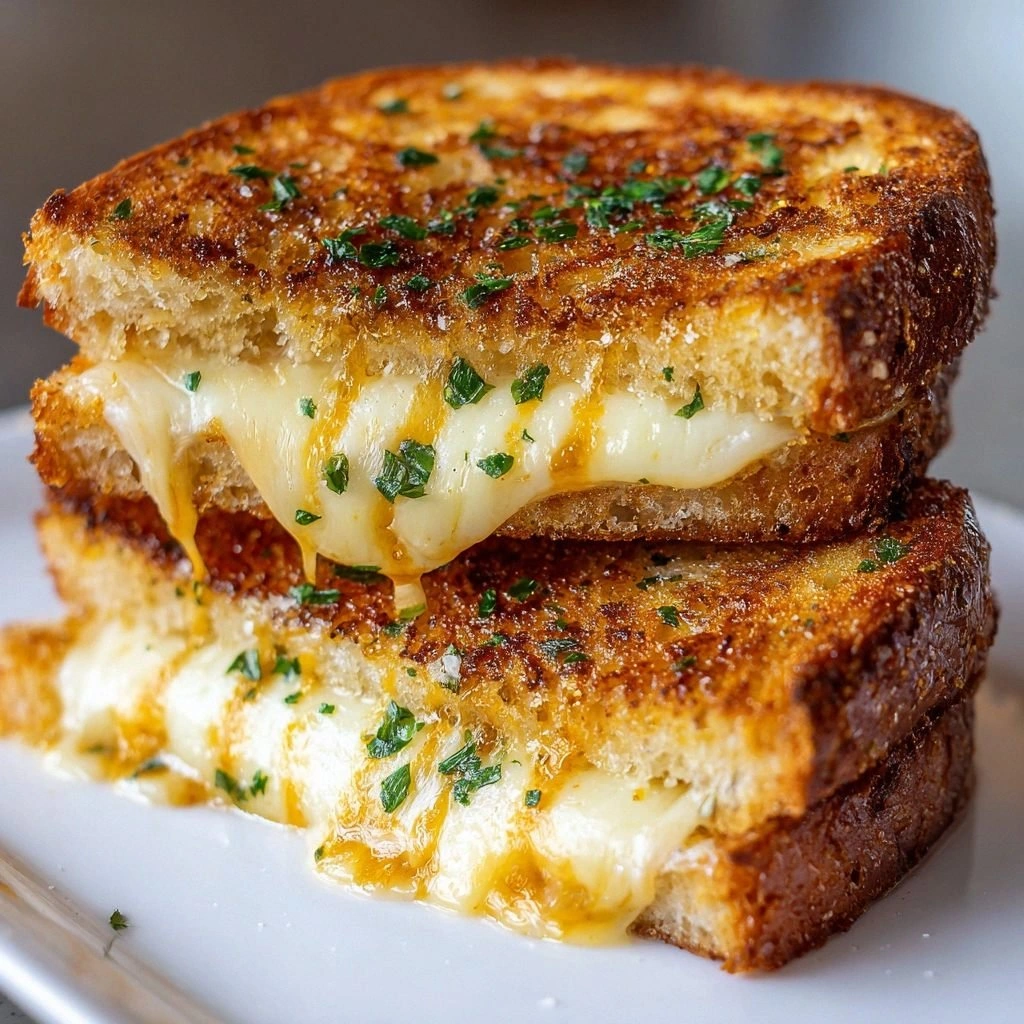
What made this version stand out was the deliberate layering of flavors that turned a simple sandwich into a culinary statement. The sourdough’s natural tang cut through the richness of the butter, preventing the dish from becoming cloying. The sharp cheddar’s bold bite provided a counterbalance that kept every bite exciting. The garlic butter, infused with fresh cloves, added a depth that made the sandwich feel like it had been simmered for hours. Finally, the optional parsley sprinkled a bright, herbaceous finish that lifted the entire experience.
I’ve always been a fan of grilled cheese, but most recipes feel like a bland, repetitive loop. My version breaks that cycle by incorporating a toasted crust that shatters like thin ice when you bite into it. The cheese melts into a glossy, oozing sauce that coats the bread like a velvet blanket. And the garlic butter isn’t just a garnish; it’s the backbone that ties everything together into a single, harmonious flavor. I’m about to show you how to create this masterpiece, step by step, so you can enjoy a sandwich that’s both comforting and adventurous.
Picture yourself pulling this out of the pan, the whole kitchen smelling incredible, and the first bite sending a wave of buttery, cheesy joy across your taste buds. I’ll be honest — I ate half the batch before anyone else got to try it, and the rest were gone within minutes. The crunch of the crust, the melt of the cheese, and the burst of garlic in every bite are a sensory explosion that will leave you craving more. If you’ve ever struggled with a grilled cheese that feels flat or greasy, you’re not alone — and I’ve got the fix. This is hands down the best version you’ll ever make at home.
Okay, ready for the game‑changer? The secret lies in the butter, the bread, and the cheese’s melting point. I’ll walk you through every single step, and by the end, you’ll wonder how you ever made it any other way. From the first whisk of garlic to the final flip, each moment is designed to amplify flavor and texture. And trust me, the moment you see that golden crust forming, you’ll know you’re on the right track. Let’s dive into the details and make something that deserves a standing ovation in your kitchen.
The first thing I do is preheat the skillet to medium‑low so that the butter can melt without burning. While the pan warms, I slice the sourdough into thick, ¾‑inch pieces, ensuring each slice has enough surface area to develop a crisp edge. I then mix the butter with minced garlic and a pinch of salt, letting the flavors meld for a minute before spreading it generously on one side of each slice. The cheese is shredded in advance, so you have it ready to go when the bread is sizzling. With these preparations, the sandwich will assemble like a well‑orchestrated symphony.
Next, I lay the buttered side of the bread onto the skillet, letting it sizzle and brown for about two minutes. The sound of the butter caramelizing is a cue that the crust is forming, and the aroma will have your neighbors calling for a taste. Once the first side is golden, I slide in a generous layer of cheese, allowing it to start melting while the second slice waits to complete the sandwich. The cheese’s sharpness will begin to mellow, creating a creamy, buttery base that’s ready for the final touch. I’m about to flip it, and that’s where the real magic happens.
When the sandwich flips, the second side meets the skillet, and the heat causes the cheese to thicken into a glossy, golden coating. I press gently with a spatula to ensure even contact, preventing any gaps that might leave the interior soggy. The timing is crucial; too long, and the cheese becomes rubbery; too short, and it won’t fully melt. Watching the cheese bubble and the crust deepen is a satisfying visual cue that the sandwich is almost ready. By the time it’s done, the garlic butter will have infused the bread with a subtle, savory sweetness.
The final step is to let the sandwich rest for a minute before cutting, allowing the cheese to set slightly and preventing a gooey mess on your plate. I sprinkle a touch of parsley on top for a pop of color and an herbal lift that cuts through the richness. The result is a sandwich that’s crispy on the outside, molten on the inside, and bursting with garlic flavor. This is not just a snack; it’s a culinary experience that will keep you coming back for more. Stay with me here — this is worth it.
Alright, let’s break down exactly what goes into this masterpiece. The ingredients are simple, the technique is refined, and the outcome is unforgettable. Every component has a purpose, from the tang of sourdough to the sharpness of cheddar. The garlic butter is the secret weapon that turns ordinary bread into a flavor powerhouse. The optional parsley adds a fresh finish that keeps the sandwich from feeling too heavy. Together, they create a sandwich that’s both comforting and bold, a true crowd‑pleaser that will have everyone asking for seconds.
- Flavor Fusion: The combination of sourdough’s tang and sharp cheddar’s bite creates a layered taste profile that feels both comforting and sophisticated. The garlic butter adds a subtle sweetness that balances the richness of the cheese. This harmony keeps each bite exciting and memorable.
- Texture Triumph: The crusty exterior shatters like thin ice when you bite, while the interior remains tender and buttery. The cheese melts into a glossy sauce that coats the bread, providing a silky contrast. The result is a satisfying crunch that satisfies every palate.
- Simplicity Mastery: With only five core ingredients, the recipe is easy to assemble and hard to beat. The steps are straightforward, making it ideal for both novices and seasoned cooks. This simplicity is the secret behind its wide appeal.
- Crowd Appeal: Whether you’re hosting a game night or feeding a family, this sandwich is a guaranteed hit. Its bold flavors and comforting textures resonate with all ages. The optional parsley adds a touch of elegance for special occasions.
- Ingredient Integrity: Each component is chosen for its quality and flavor profile. The sourdough’s natural tang, the cheddar’s sharpness, and the garlic’s pungency all work in harmony. This focus on quality elevates the dish from ordinary to extraordinary.
- Make‑ahead Magic: Prepare the garlic butter a few hours ahead for deeper flavor infusion. Slice the bread and store it in an airtight container to keep it fresh. When ready, assemble and cook for a quick, satisfying meal.
- Healthful Twist: Opt for whole‑grain sourdough to add fiber and nutrients. Use reduced‑fat cheddar for a lighter version without compromising flavor. This sandwich can be part of a balanced diet when paired with a side salad.
- Time Efficiency: The entire process takes under 30 minutes from start to finish. The quick cooking time makes it perfect for busy evenings or spontaneous cravings. You’ll have a gourmet sandwich in record time.
The Flavor Base
Sourdough bread provides a sturdy yet slightly tangy canvas that holds up against the buttery garlic butter. The butter, when infused with fresh minced garlic, becomes a fragrant sauce that permeates each bite. The garlic’s natural pungency elevates the sandwich’s flavor profile, making it far more complex than a standard grilled cheese. If you skip the garlic, you’ll miss out on that aromatic depth that defines this recipe.
The Texture Crew
Sharp cheddar cheese is the star of the show, offering a rich, tangy flavor that melts beautifully. Its high melt point creates a creamy, gooey center that contrasts with the crisp crust. Adding a small amount of mozzarella or pepper jack can adjust the stretch or spice level, but the cheddar remains the foundation. Without the cheese, the sandwich would feel flat and lack the luxurious mouthfeel that makes it unforgettable.
The Unexpected Star
Fresh parsley adds a bright, herbal note that cuts through the richness of the butter and cheese. Its subtle flavor brightens the sandwich and adds a pop of color that makes it visually appealing. While optional, parsley can transform the sandwich from comforting to sophisticated. Skipping it will leave the dish slightly less vibrant, but the core flavors remain strong.
The Final Flourish
Feel free to experiment with substitutions to tailor the sandwich to your taste. Swap cheddar for mozzarella for a milder flavor or pepper jack for a spicy kick. Try different breads like whole grain or ciabatta to add texture and flavor diversity. These swaps keep the base intact while giving you endless creative possibilities.
Everything's prepped? Good. Let's get into the real action.
The Method — Step by Step
- Set your skillet over medium‑low heat and let it warm for about five minutes; a properly heated pan ensures even browning and prevents the butter from burning. The heat should feel warm but not scorching. This step is crucial for achieving that perfect, crisp crust. While the pan heats, keep an eye on the temperature to avoid overheating. A hot pan is the foundation of a great grilled cheese.
- Slice the sourdough into thick, ¾‑inch pieces, ensuring each slice has enough surface area to develop a crisp edge. Thick slices provide a sturdy structure that can hold the gooey cheese without falling apart. Use a serrated knife to maintain the bread’s crust integrity. A uniform thickness helps the sandwich cook evenly. This is the first step in building a sandwich that feels substantial.
- In a small bowl, combine the unsalted butter, minced garlic, and a pinch of salt; let the mixture sit for a minute to allow the flavors to meld. The garlic’s aroma will start to permeate the butter, creating a fragrant base. The salt balances the richness of the butter and enhances the overall flavor. This step is where the magic begins. The butter will become a silky, savory sauce.
- Spread the garlic butter generously on one side of each bread slice, covering the entire surface. A thick layer ensures every bite is infused with garlic flavor. Use the back of a spoon to spread evenly. The butter should be visible as a golden sheen. This step guarantees a buttery, aromatic crust.
- Place the buttered side of the bread onto the skillet and let it sizzle for about two minutes; the sound of caramelization is your cue that the crust is forming. The butter should brown to a golden amber, not brown too dark. This creates a crunchy, flavorful base. Keep the heat steady to avoid burning. The aroma will fill the kitchen with anticipation.
- Add a generous layer of shredded sharp cheddar on top of the browned bread slice; the cheese should start to melt while the second slice waits to complete the sandwich. The cheese’s sharpness will mellow into a creamy base. Use a spoon to spread the cheese evenly. The cheese should be slightly loose to allow the butter to seep through. This step builds the sandwich’s core.
- Place the second slice of bread, buttered side down, on top of the cheese. Press gently with a spatula to ensure even contact and prevent any gaps that might leave the interior soggy. This gentle pressure helps the cheese spread evenly and creates a cohesive sandwich. The second side should also brown slightly. The sandwich is now ready for the final flip.
- Flip the sandwich carefully, letting the second side brown for about two minutes; the cheese will thicken into a glossy, golden coating. The heat from the pan causes the cheese to set and create a luscious sauce. Watch for the cheese to bubble and the crust to deepen. The final flip completes the cooking process. This is the moment of truth.
- Remove the sandwich from the skillet and let it rest for one minute before cutting; this allows the cheese to set slightly and prevents a gooey mess on your plate. The rest also lets the flavors meld together. Slice the sandwich diagonally for a classic presentation. The result is a sandwich that’s crispy on the outside, molten on the inside, and bursting with garlic flavor.
That's it — you did it. But hold on, I've got a few more tricks that'll take this to another level.
Insider Tricks for Flawless Results
The Temperature Rule Nobody Follows
Many cooks instinctively crank up the heat to get a quick crust, but this often burns the butter before the cheese melts. Keep the skillet at medium‑low to allow the butter to melt slowly, infusing the bread with flavor. A steady, moderate heat ensures a golden crust without scorching. The result is a sandwich that’s crispy yet tender.
Why Your Nose Knows Best
The aroma of garlic butter is a reliable indicator that the butter is perfectly infused. A strong, fragrant scent means the garlic has released its essential oils. If the smell is faint, let the butter sit a few more minutes. Your nose is your best ally in achieving maximum flavor.
The 5‑Minute Rest That Changes Everything
After cooking, let the sandwich rest for at least five minutes before cutting. This brief pause allows the cheese to set into a silky, cohesive texture. It also lets the flavors redistribute, giving each bite a balanced taste. A short rest is the secret to a flawless sandwich.
Pressing Technique for Even Melting
Using a spatula to press the sandwich lightly during cooking ensures even contact with the skillet. This technique prevents pockets of air that could cause uneven melting or soggy spots. The pressure also helps the cheese spread, creating a uniform layer of gooey delight. It’s a simple step that makes a big difference.
Choosing the Right Cheese
Sharp cheddar offers the best balance of flavor and melt. If you prefer a milder taste, try mozzarella, but be aware it may not brown as much. Pepper jack adds a spicy kick that pairs well with garlic. Experimenting with cheeses lets you customize the sandwich to your palate.
How to Keep the Bread Crispy
For extra crunch, sprinkle a pinch of flour on the bread before buttering. The flour creates a barrier that helps the bread crisp up faster. Keep the skillet at a steady temperature to avoid burning. The result is a sandwich with a satisfyingly crisp exterior.
Creative Twists and Variations
This recipe is a playground. Here are some of my favorite ways to switch things up:
Mango‑Cheddar Fusion
Add sliced ripe mango to the sandwich for a sweet, tropical contrast that pairs beautifully with sharp cheddar. The mango’s natural sugars caramelize slightly when toasted, adding a caramelized sweetness. This variation is perfect for a summer lunch or a party snack. It introduces a bright, fruity note that elevates the classic.
Smoky Chipotle Crunch
Replace regular cheddar with pepper jack and add a dash of chipotle powder to the garlic butter for a smoky, spicy kick. The chipotle adds depth and a mild heat that balances the richness of the butter. This version is ideal for those who enjoy a bit of heat in their comfort food. The smoky flavor makes each bite unforgettable.
Herb‑Infused Parmesan
Swap cheddar for grated parmesan and add dried oregano to the garlic butter for a Mediterranean twist. The parmesan’s nutty flavor complements the buttery garlic, while oregano adds an earthy aroma. This variation is great for a quick, sophisticated appetizer. The result is a sandwich that feels like a gourmet deli creation.
Breakfast‑Style Avocado Toast
Top the sandwich with sliced avocado and a sprinkle of crushed red pepper after cooking. The creamy avocado adds a fresh, cool contrast to the warm, cheesy sandwich. This twist turns the dish into a hearty breakfast or brunch option. The avocado’s mild flavor balances the richness of the cheese.
Vegan Delight
Use plant‑based butter, vegan cheddar, and a splash of nutritional yeast for a dairy‑free version. The nutritional yeast adds a cheesy, umami flavor that mimics dairy. This variation keeps the sandwich indulgent while accommodating dietary preferences. It’s a crowd‑pleaser for vegan guests.
Storing and Bringing It Back to Life
Fridge Storage
Store leftover sandwiches in an airtight container in the refrigerator for up to two days. Keep the bread slices separate from the cheese to avoid sogginess. The garlic butter will retain its flavor, but the crust may soften slightly. Reheat gently to restore crispness. The sandwich remains delicious after a short chill.
Freezer Friendly
Wrap each sandwich tightly in foil or parchment paper before placing it in a freezer bag. Freeze for up to one month. The bread and cheese will maintain their texture when reheated properly. This method is convenient for meal prep or quick snacks. Freezing preserves the sandwich’s flavor profile.
Best Reheating Method
To reheat, place the sandwich on a preheated skillet over medium heat for 2‑3 minutes on each side. If you’re using the oven, preheat to 350°F and bake for 10 minutes. Add a tiny splash of water to the pan before reheating; it steams the sandwich back to perfection. Avoid microwaving, as it can make the bread soggy. The result is a sandwich that tastes as fresh as when it was first made.